Guide to Set-up WordPress Multisite Network Successfully
Do you want to handle all websites of your clientele by making and maintaining all the websites they love? In that case, the WordPress Multisite network is the support you need for creating multiple websites online and hosting them for your clients’ ultimate satisfaction quotient. WordPress multisite is very helpful since it allows the users to create a network of sites on a single WordPress installation.

So, if you think you could use the benefit of WordPress multisite, this blog post is here to help with everything about the WordPress Multisite network’s functionality and how to maintain it all together like a boss.
Brief About WordPress Multisite
WordPress Multisite is a platform of WordPress that allows a developer to create websites like a blog and other web page related developments for your client on the same WordPress installation. This is also backed by the single WordPress core file. That means all websites created by the WordPress Multisite will have the same themes and plugins.
So, the best benefit of using Multisite is that when you update a theme or a plugin once, every website that’s using it gets updated simultaneously. You wouldn’t need to manually update each and every page using it or built around that theme. That’s a lot of time and effort saved, right?
Know If The WordPress Multisite Is Right For Your Client:
Certain situations mentioned below are perfect for you to use this platform for increasing the ease of use for your client:
- When your client doesn’t have a lot of traffic to their website.
- When the data on the website is not required to be updated regularly.
- When the scalability of your client’s offerings online is very less and can be managed with a static website for now.
- When you have a similar pool of clients.
Creating The WordPress Multisite
You might know about blogging on WordPress and hosting eCommerce sites on this CMS. So, to get you started, here’s how you can set up the WordPress multisite for your clients’ websites.
Install The WordPress Platform
When you are starting from scratch, you need to have WordPress installed on your PC/laptops. It is a one-step process and gets downloaded onto your systems within minutes.
Now its time to create subdirectories and subdomains like this:
Subdomain: https://websiteA.yournetworkname.com
Subdirectory: https://yournetworkname.com/websiteB/
If you are wondering, a subdirectory allows you the benefit of using several websites without choosing different domains. But, when a particular website crosses 30 days of operations online, you will be compelled to choose another subdomain.
Learning To Do The Site Backup
When you already have a website which is running without Multisite, make sure you back it up after logging in to your WordPress account.

You can even use a backup WordPress Plugin for doing so.
Deactivating The Active Plugins
Before trying to activate Multisite, it is highly recommended that you stop the plugin which the website is already using. Otherwise, this can create technical hindrances in integrating the website on the Multisite platform for further expansion.
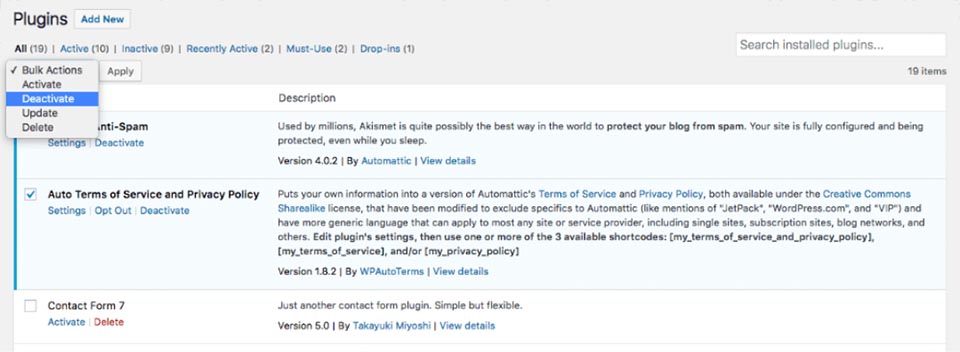
Now, you need to log out of WordPress.
Update The Existing wp-config.php Files
Now, it is time for you to update the existing wp-config.php file to begin the activation of the Multisite platform further. So, now log in to the WordPress hosting account that you own or already have.
For that, you can use the file manager tool or FTP just to update the files.
Now, you need to find that wp-config.php file which is the root of the website that you already have and want to use on the Multisite platform.
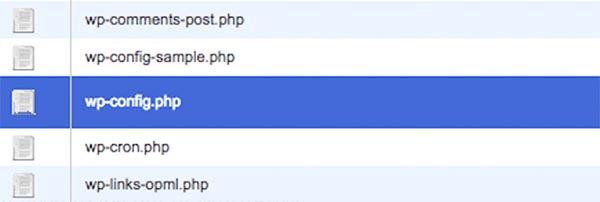
Now open this file, as mentioned in the image above. This will open a new dialogue box of the coding. The image of similar coding is posted below for your reference.
define( 'AUTOSAVE_INTERVAL', 300 );
define( 'WP_POST_REVISIONS', 5 );
define( 'EMPTY_TRASH_DAYS', 7 );
define(WP_CRON_LOCK_TIMEOUT', 120 );
/*That's all, stop editing! Happy blogging.*/

/** Absolute path to the WordPress directory,*/
if ( !defined( 'ABSPATH' ) )
	define( 'ABSPATH', dirname(_FILE_) . '/');

/**Sets up WordPress vars and included files. */
require_once(ABSPATH . 'wp-setting.php');
The code line which is highlighted in orange in the image above needs to be edited to enable the Multisite functionality further on.
So, now you should add the following line above the highlighted code in orange:
/* Multisite */
define( 'WP_ALLOW_MULTISITE', true );
When you add it inside the code, it will look like:
define( 'AUTOSAVE_INTERVAL', 300 );
define( 'WP_POST_REVISIONS', 5 );
define( 'EMPTY_TRASH_DAYS', 7 );
define(WP_CRON_LOCK_TIMEOUT', 120 );
/* Multisite */
define( 'WP_ALLOW_MULTISITE', true );
/*That's all, stop editing! Happy blogging.*/

/** Absolute path to the WordPress directory,*/
if ( !defined( 'ABSPATH' ) )
	define( 'ABSPATH', dirname(_FILE_) . '/');
Further, after adding the line, you can save the file as it is.
Learning to Install Multisite
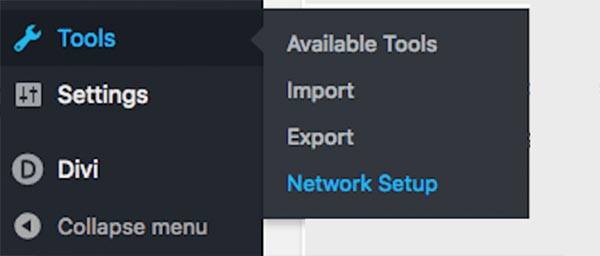
Now go back to your WordPress to log into the account. Go to the Tools option. Search for the “Network Setup” and go on by clicking it.
Create a network with a name of your choice, and you can simply go on with it by inputting a name suitable for the network and move forward by allotting the super-admin position to someone from your team.

After fulfilling all the necessary information that is required from the email ID to the network name, click ‘Install’ that is shown in the image posted above.
Activate The Network
This will be the screen you will be getting after clicking on the ‘installing’ option. Go to your file manager and check if you have switched on the “reveal hidden files” option.
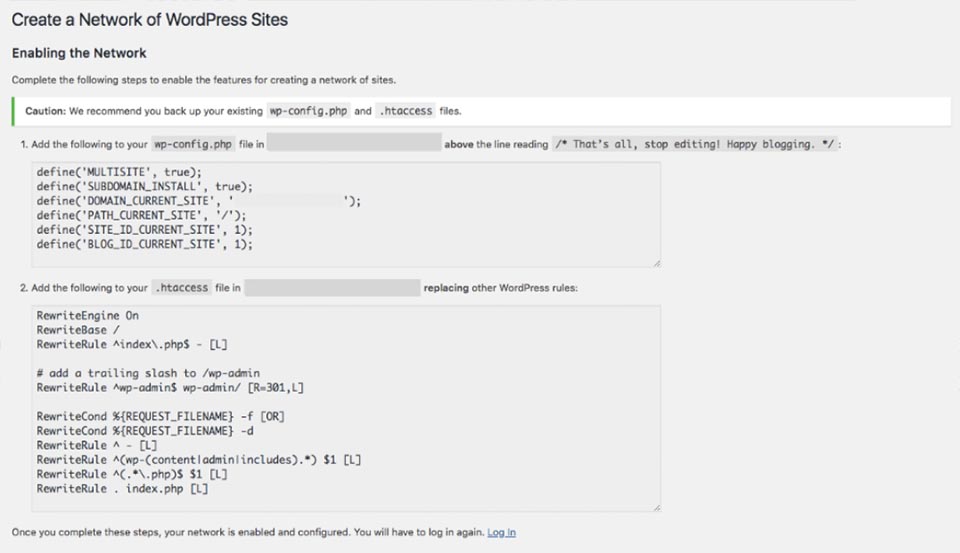
Moving ahead, you must also open the wp-config.php code file to edit it again. Here in this dialogue box, you will have to paste the code snippet, which is shown in the image above.
This will be the guidance from WordPress to activate the network for the Multisite platform. If you are confused, check out the image below which has the given code added in between.
define( 'AUTOSAVE_INTERVAL', 300 );
define( 'WP_POST_REVISIONS', 5 );
define( 'EMPTY_TRASH_DAYS', 7 );
define(WP_CRON_LOCK_TIMEOUT', 120 );
/* Multisite */
define( 'WP_ALLOW_MULTISITE', true );
define( 'MULTISITE', true);
define( 'SUBDOMAIN_INSTALL', true);
define( 'DOMAIN_CURRENT_SITE', 'yoursitename.com');
define( 'SITE_ID_CURRENT_SITE', 1);
define( 'BLOG_ID_CURRENT_SITE', 1);
/* That's all, stop editing! Happy blogging. */

/**Absolute path to the WordPress directory. */
if ( !defined( 'ABSPATH') )
	define( 'ABSPATH', dirname(_FILE_). '/');
Now you can save this file as it is like you did earlier to maintain the changes in WordPress. So, move ahead to edit the .htaccess file. These files are usually hidden on the server, that is why it is mentioned earlier to switch on the option to reveal the hidden files. Talking of hidden files, you must always ensure that you are using a protected connection to manage your websites. If you want to, you must check out what is a VPN and implement it.
You can easily locate this .htaccess file in your file manager which you have used earlier for the wp-config.php coded file.
So, now you have to find the following line in the .htaccess code file:
# END Wordfence WAF

# BEGIN WordPress
AddHandler application/php-edge .php
<IfModule mod_rewrite.c>
RewriteEngine On
RewriteBase /
RewriteRule ^index\.php$ - [L]
RewriteCond %{REQUEST_FILENAME} !-f
RewriteCond %{REQUEST_FILENAME} !-d
RewriteRule . /index.php [L]
</IfModule>

# END WordPress
The code which has been highlighted in the snapshot above will be replaced by the WordPress’ code snippet, which was mentioned earlier after the installation of the network.
If the steps are confusing you for now, or you are not sure which snippet is being talked about here, check out the image posted ahead, and you can then begin editing your .htaccess file to begin using the WordPress Multisite platform.
# END Wordfence WAF

# BEGIN WordPress
AddHandler application/php-edge .php
<IfModule mod_rewrite.c>
RewriteEngine On
RewriteBase /
RewriteRule ^index\.php$ - [L]

#add a trailing slash to /wp-admin
RewriteRule ^( [_0-9a-zA-Z-]+/)?wp-admin$ $1wp-admin/ [R=301, L]

RewriteCond %{REQUEST_FILENAME} -f [OR]
RewriteCond %{REQUEST_FILENAME} -d
RewriteRule ^ - [L]
RewriteRule ^ ([_0-9a-zA-z-]+/)?(wp-(content|includes).*) $2 [L]
RewriteRule ^ ([_0-9a-zA-z-]+/)?(.*\.php)$ $2 [L]
RewriteRule . index.php [L]|
</IfModule>

#END WordPress
After you have added these lines, you must save changes and then begin using the Multisite functionality whenever you log into your regular WordPress account.
We hope the above tutorial will effectively help you set up your own WordPress Multisite and handle them well.