10 Most Useful Gutenberg Editor Tips & Tricks
WordPress users from around the world got to brace a new editor for their Content Management System in December of 2018. It accounted for the platform’s major release in the past year. Also, it was a welcome move since the past WordPress visual editor hasn’t had many changes over the years. A part of the 5.0/Gutenberg release, this Gutenberg editor has managed to drive equal amounts of appreciation as well as criticism from the users. Read about Gutenberg editor tips and tricks in this post.
Initially a blogging platform, WordPress is still a widely used platform by writers for letting out their words. The new Gutenberg WordPress editor was developed with an idea of making it easy for people to add rich content to WordPress. For the past editor, it was about using too many shortcodes and HTML to get things done.
So, if you are all amped up to get started with the Gutenberg Editor, here are 10 tips/tricks that can immensely help you cruise through the new editing experience of the Gutenberg editor.

1. Gutenberg Editor Tips
You can simply head to this resource to learn a lot of basics about the new editing experience that you will get with the Gutenberg Editor. Since this is an entirely new thing, this should be a smart move; to learn about the tips from the official channel.
2. Keyboard Shortcuts
Just like the Classic editor, the new Gutenberg editor lets you use many generic Keyboard shortcuts to carry out specific editing in your post. However, there are some Gutenberg-specific shortcuts as well. To access them, all you need to do is click on the ellipsis in the top right corner, near the viewer options, further down the menu.
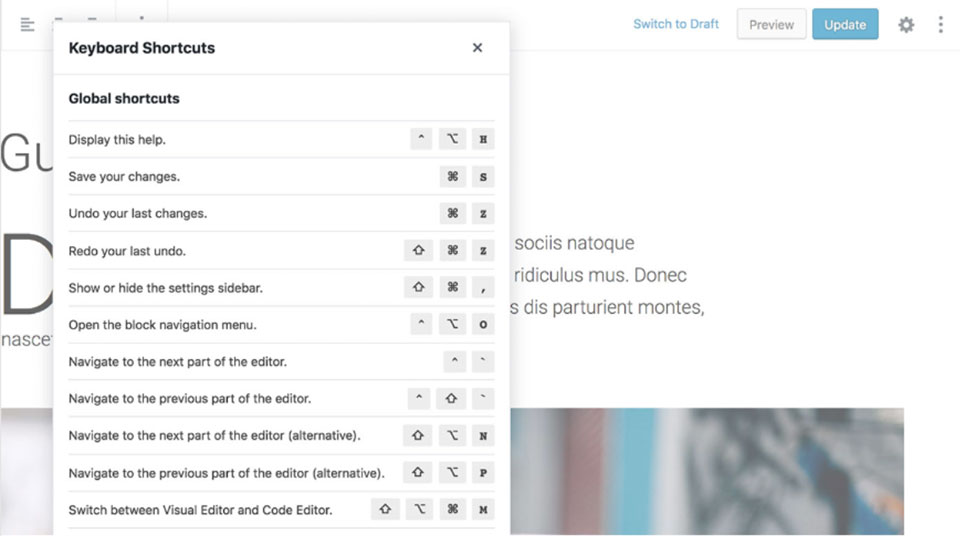
To check out the complete list, you can simply use the Shift + Alt + H shortcut. Here are some of our personal favorites that will save you a lot of time while editing your posts.
- Delete a selected block: Ctrl + Alt + Backspace
- Insert a new block before a selected block: Ctrl + Alt + T
- Insert a new block after the selected block: Ctrl + Alt + Y
- Create an H2: ##” and then ‘Space’
- ## to create a heading
- 1. to create an ordered list
- * to create an unordered list
- > to create a quote
3. Multiple Editor View Options
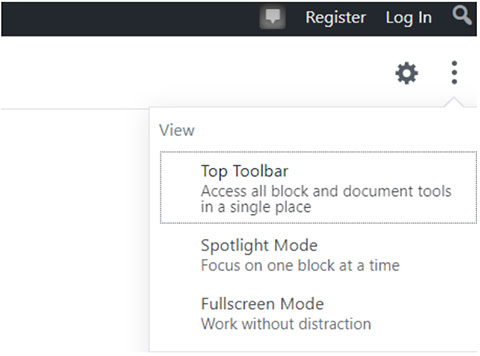
Just go to the top right corner, click on the ellipsis, and you will find the three Editor view options i.e. the Unified Toolbar, the Spotlight mode, and the Fullscreen mode.
The Unified Toolbar lets you have a unified toolbar at the top of the editor, or at the top of the block you are working on so that. The Spotlight Mode highlights the block you are currently working on so that you can focus on one block at a time. The third editor option i.e. the Fullscreen Mode lets you work without distraction by expanding the editor and removing the admin menus at the top and to the left.
4. New Content Blocks
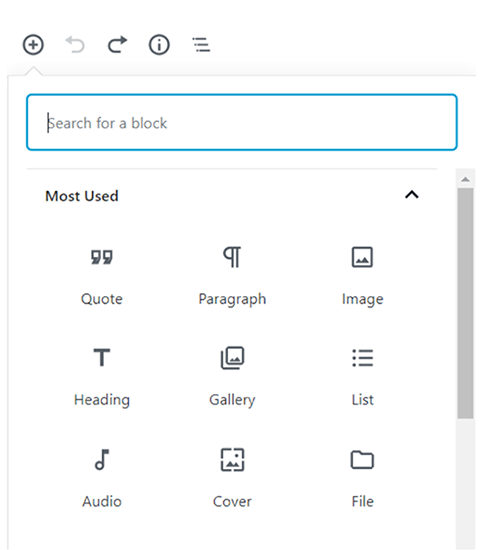
Gutenberg lets you work in new content blocks. Based on the plugins you are running, the editor will create a dedicated block for the components. You can easily create new content and insert buttons, file downloads, cover images, etc.
The common block types in the editor are:
- Paragraph
- Image
- Heading
- Gallery
- List
- Quote
- Audio
- Cover
- File
- Video
5. Drag and Drop Images
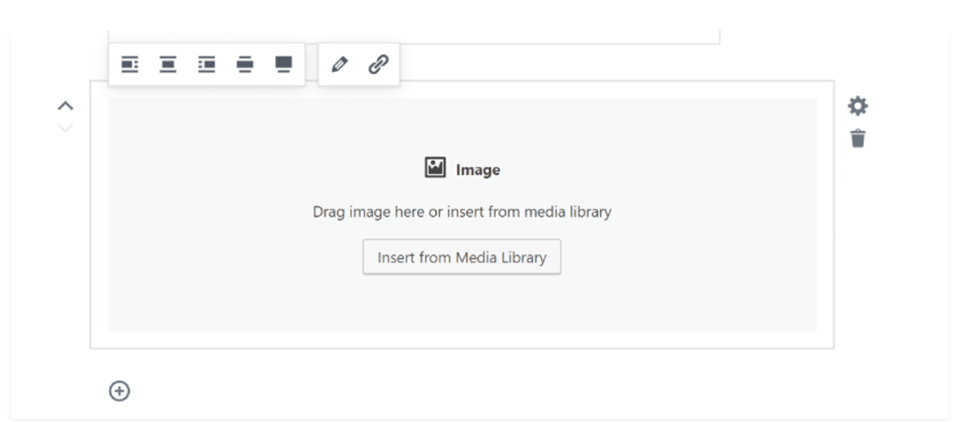
If you have previously worked with the visual editor, you are probably aware of the ease of dragging and dropping images into the post. It is now very easy to drag and drop images directly into an image block with Gutenberg as well.
6. Drag-And-Drop To Rearrange Blocks
If you ever wanted to rearrange your content in the classic editor, you had to do it the old school way: cut and paste it. Now, that has become seamless with the Gutenberg’s built-in drag-and-drop layout controls. If you want to, you can also move blocks up or down one space by using the up and down arrows. Just hover over the six dots icon on the left of your block and you will be able to turn on the drag and drop mode. You can then simply select a target block and drag and drop it to a new location.
7. Document Outline
Not available with the Classic editor, the new Gutenberg editor lets you see information like word count, the number of headings, paragraphs, and blocks, and even a summary of the entire blog layout.
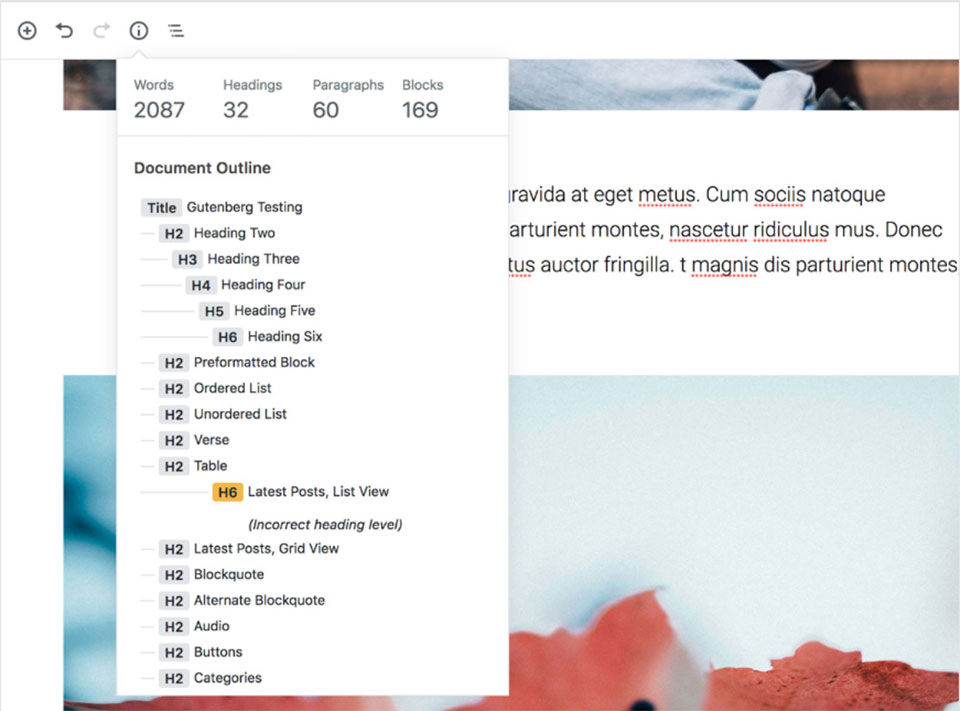
This document outline is going to be highly useful for bloggers who work under a specified word limit for their blog posts. To see that information, you just need to click on the Info icon present on the top left of the chosen block.
8. Reusable Block Templates
The Gutenberg editor is going to be a big hit with users who believe in saving time while they are composing and editing their posts. One such tip for time-saving enthusiasts using Gutenberg is to use the reusable block template feature of this new editor.
So, you can keep a certain set of blocks that you might need to reuse in the future as a template. All you need to do is select all the blocks that you need to keep and then click on the three dots icon and then select ‘Add to Reusable Blocks’ and you will be done! When you are ready to reuse this template, again go to the three dots icon in the top-right corner and click on ‘Manage All Reusable Blocks’ to choose the template that you need to work with.

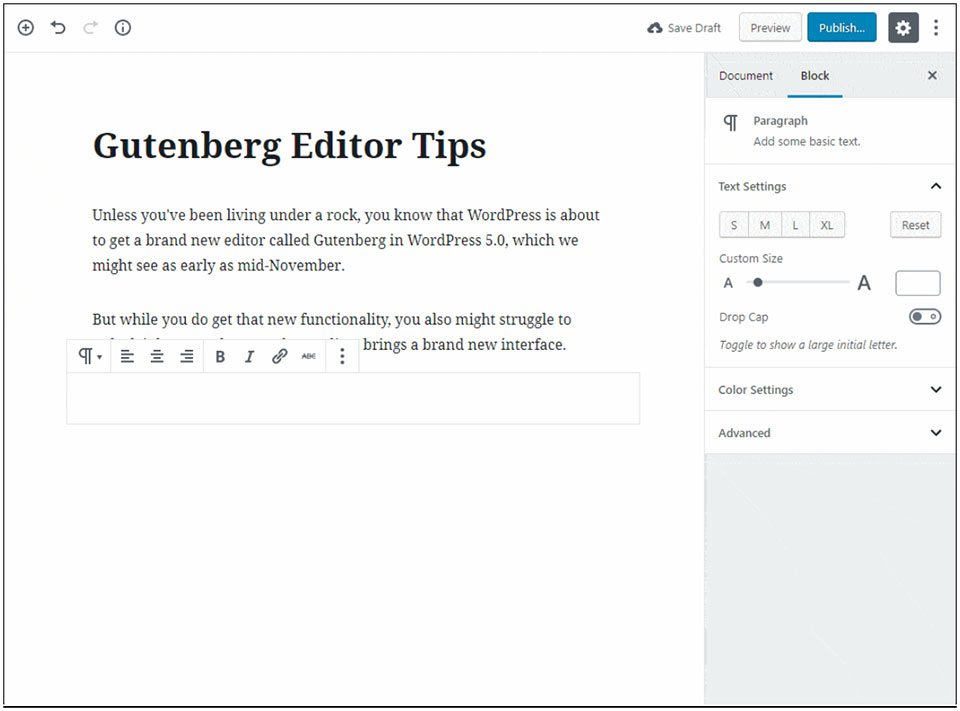
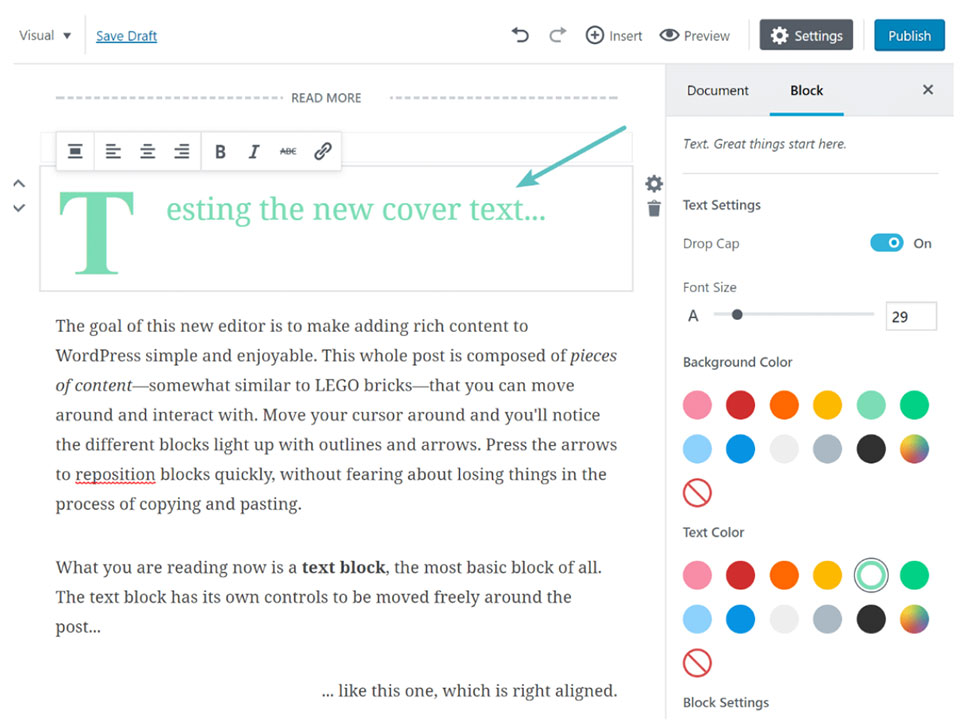
9. Font Size adjustment
Again, you can easily adjust the size of your font in the posts which were not an easy thing to do with the classic WordPress editor. In Gutenberg, you can toggle between options to choose the size of your fonts.
There are also some new visual styles and options for cover text in the new editor. You can now seamlessly change the color with the custom color palette.
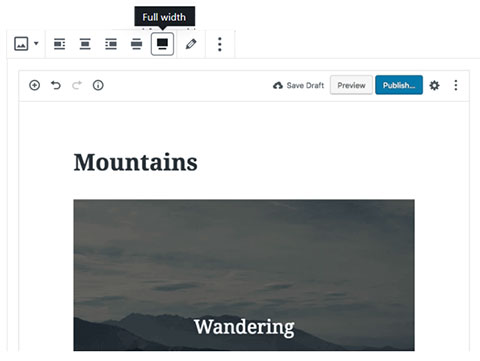
10. Full-Width Image Alignment
This tip is for users who are using a Gutenberg compatible theme that works with full-width styles for their WordPress website. They can easily create wide and full-width content with the help of the new editor. This will let their content stretch to the entire width of the page. To get started, just select the Full-width alignment and you can also use this alignment with the Cover Image block.
Conclusion
The journey of WordPress users with the new Gutenberg editor has just started. As you keep toying around with the new editor, you will be able to find some really amazing tips and tricks that will let you use the new editor to save time and efforts towards creating a rich blog post for your WordPress site.
If you think the Gutenberg editing isn’t your cup of tea, for now, you can keep using the Classic editor while running the update 5.0. All you would have to do is get the WordPress’ Classic Editor plugin to keep using the classic editor for posting and editing. As of now, the Classic Editor plugin will be supported until 2022.
With our tips mentioned above, we hope that you will be encouraged to ditch the classic editor and try the new Gutenberg editor for its intuitive editing experience.